How to Design a Box Template
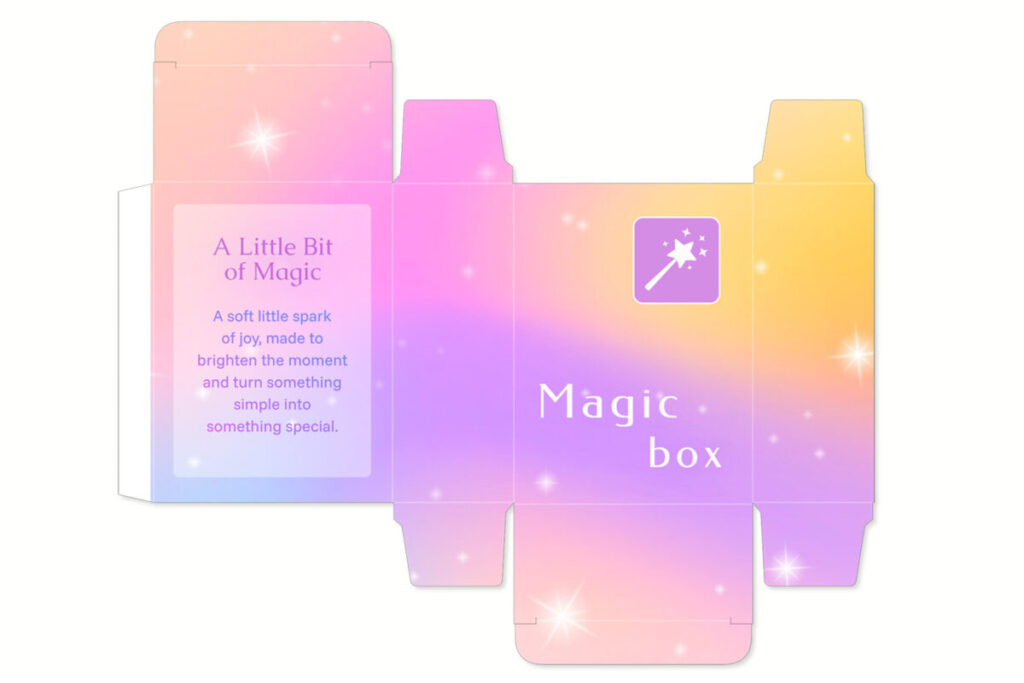
Learn how to create a finished box design from a custom-size template.

Step-by-Step Tutorial
Follow the steps below to create your own box design from a template.
1. Open the template
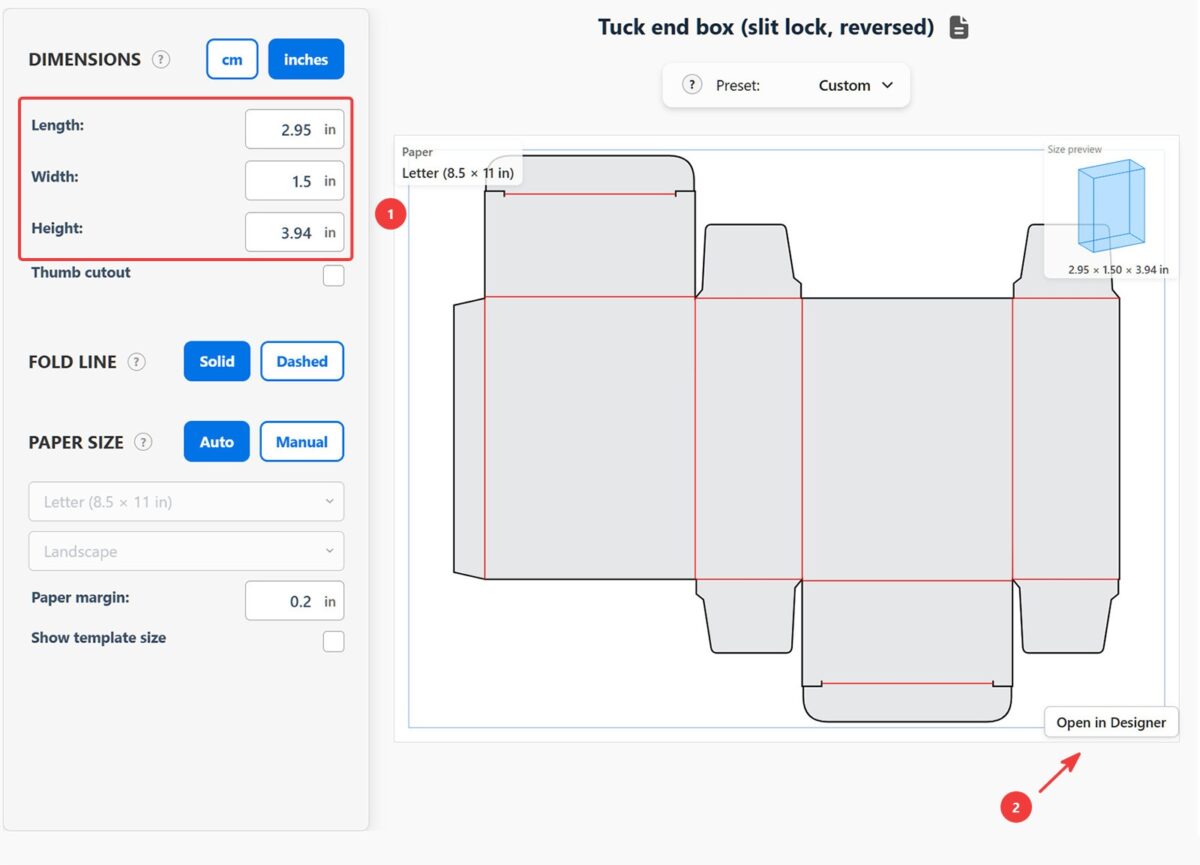
In this tutorial, we’ll be using the Tuck End Box Template.
On the template page, enter the length, width, and height you need.
When everything looks correct, click Open in Designer.
2. Add a background
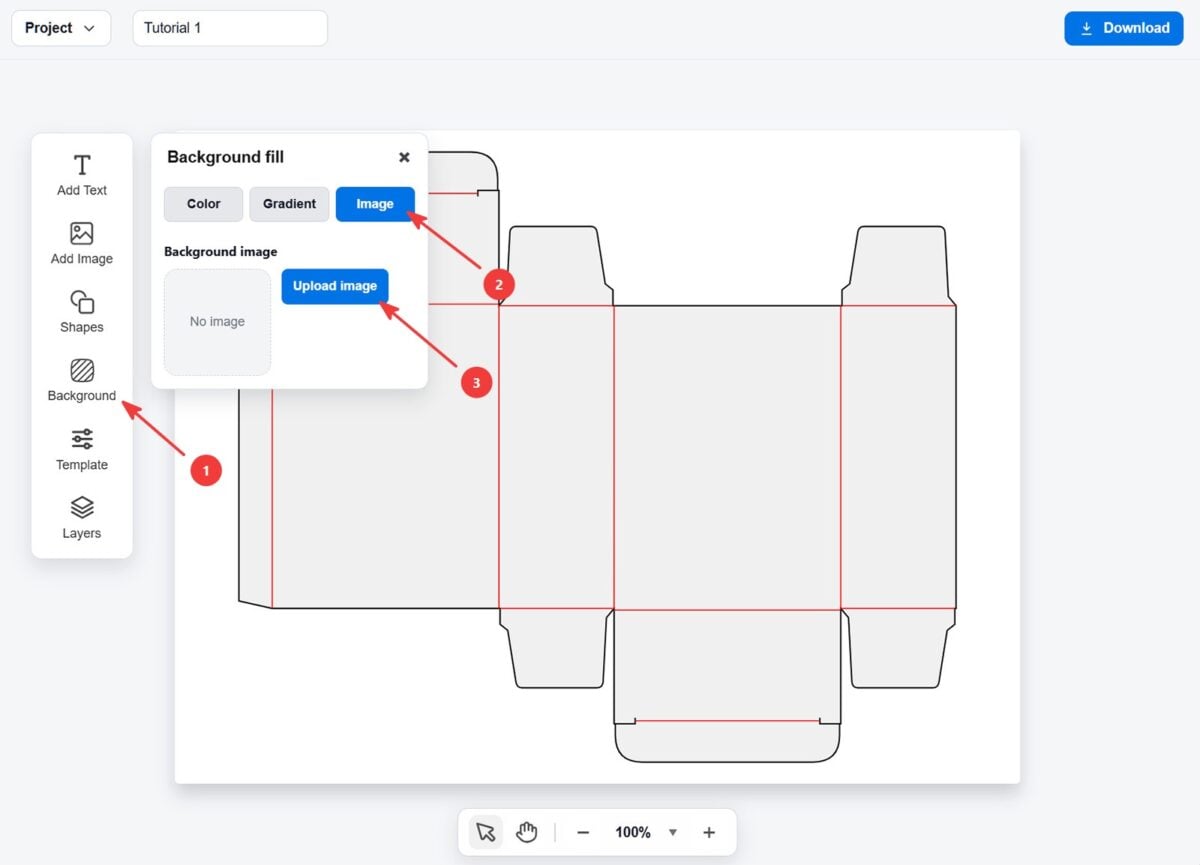
Open the Background panel.
You can use a solid color, gradient, or image as the background. In this tutorial, we’ll upload an image.
Select the Image tab and click Upload image.
3. Adjust the template lines
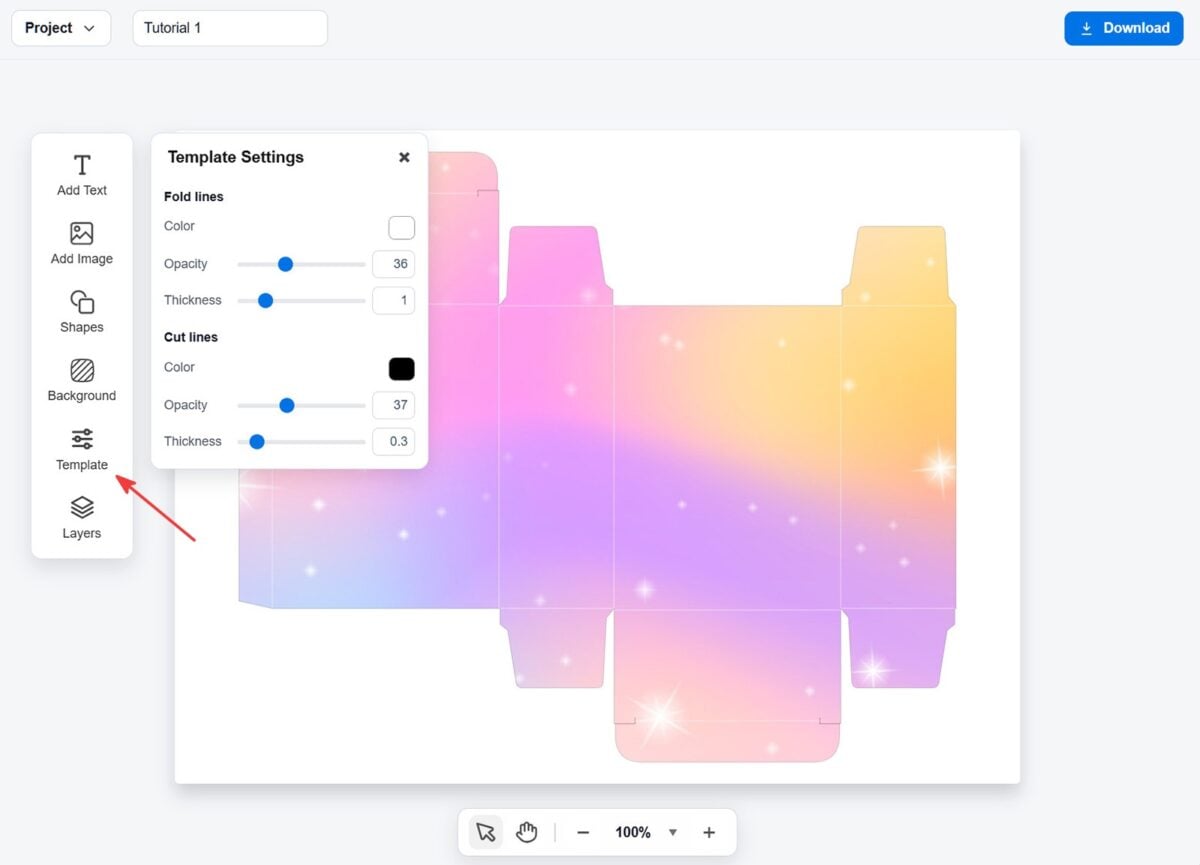
Open the Template Settings panel.
Set the fold lines to white and make them thinner and more transparent. Make the cut lines thinner and more transparent too.
The lines stay easy to follow while cutting and folding, but become almost invisible on the finished box. This is especially useful for hand cutting.
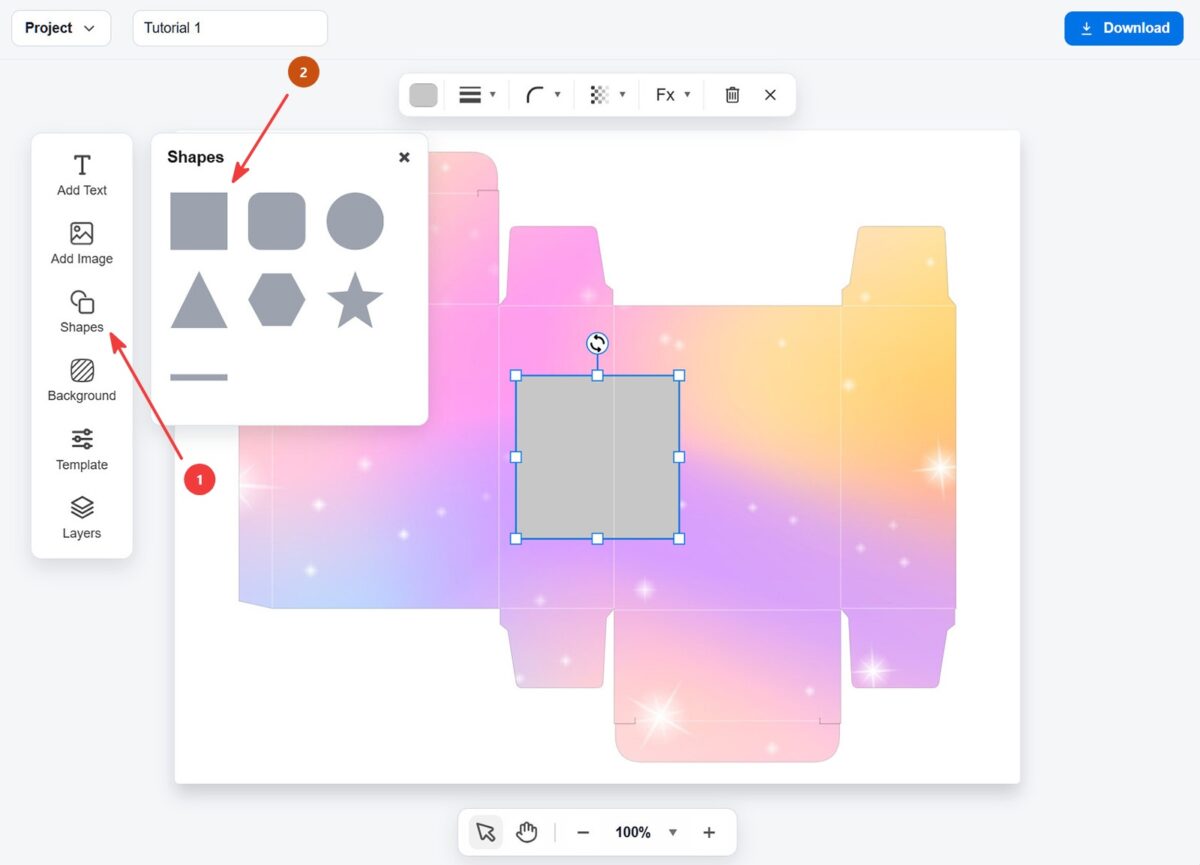
4. Add a rectangle
Open the Shapes panel and add a rectangle.
You can move, resize, and rotate it directly on the canvas.
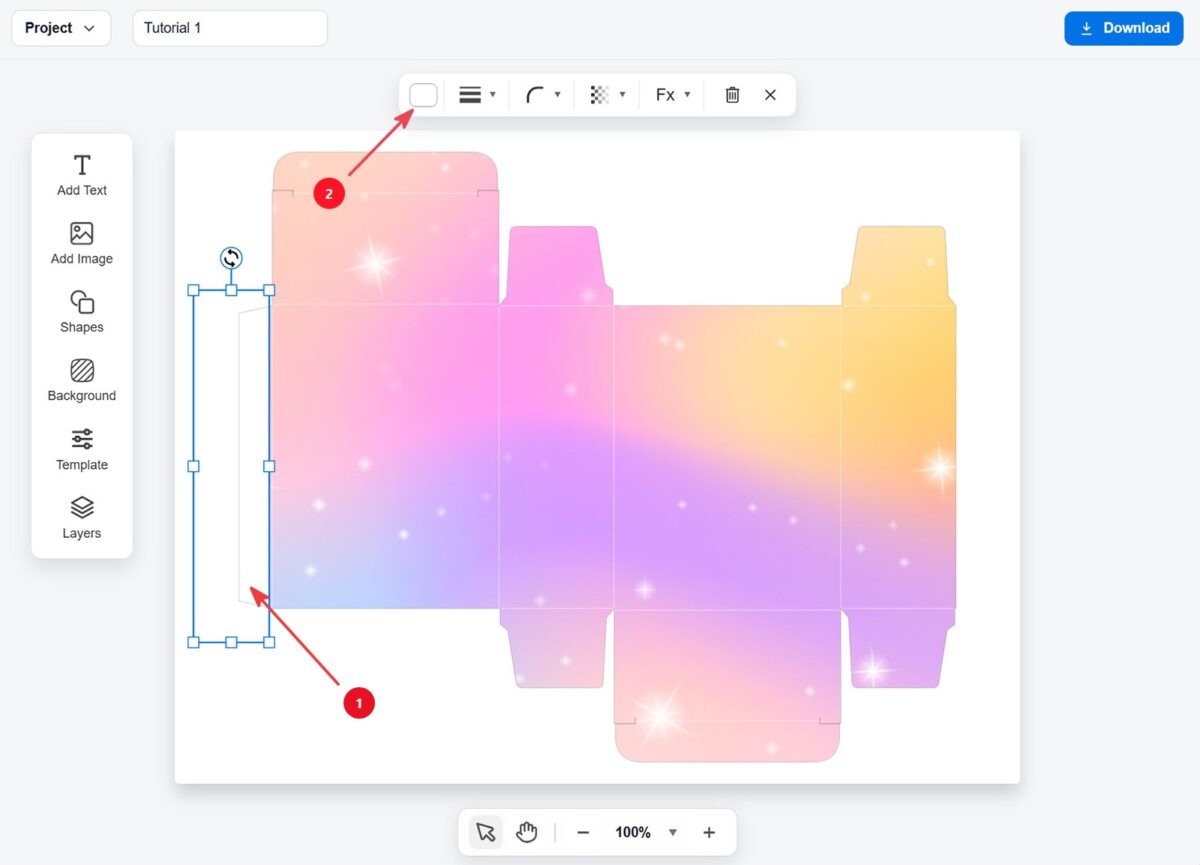
5. Cover the glue tab
Place the rectangle over the glue tab area.
Set the rectangle fill to white. This keeps the glue tab clean and free from background graphics.
Note: This step is optional, but it can be useful if you want to keep the glue tab clean.
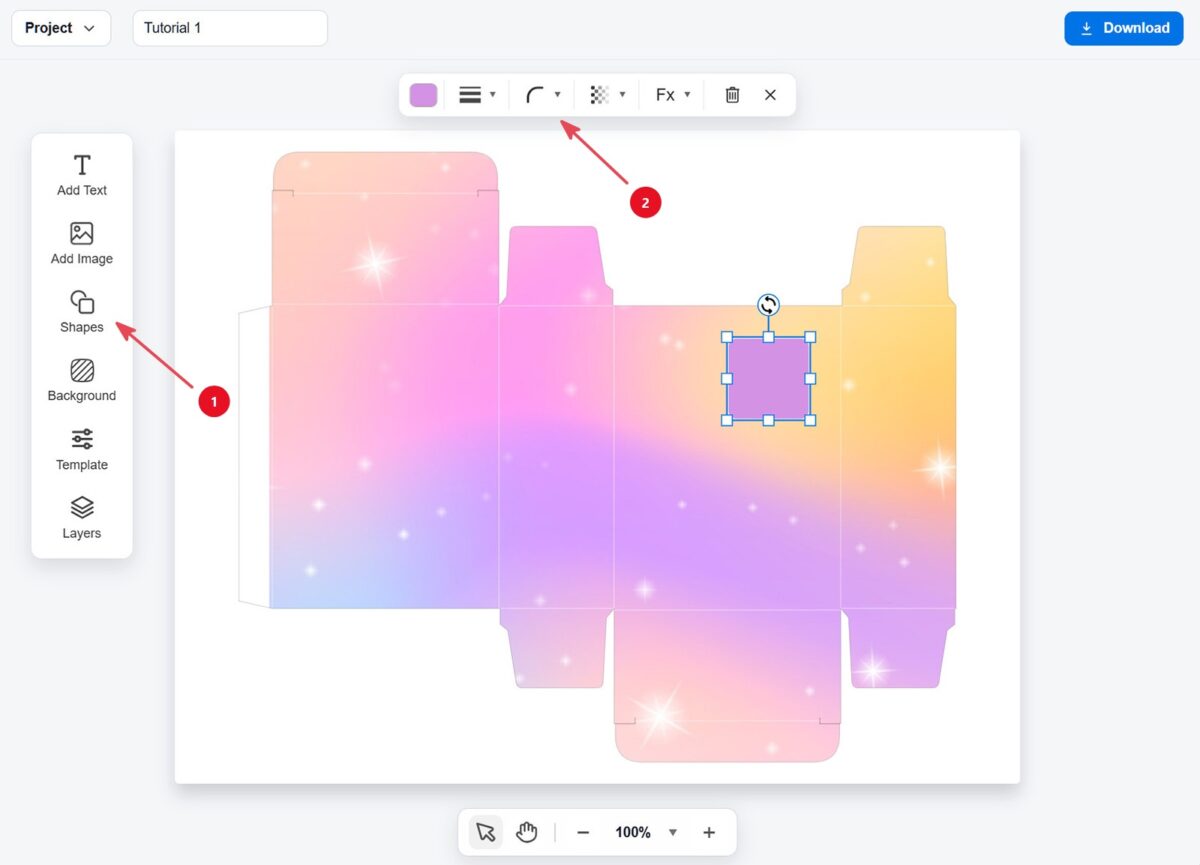
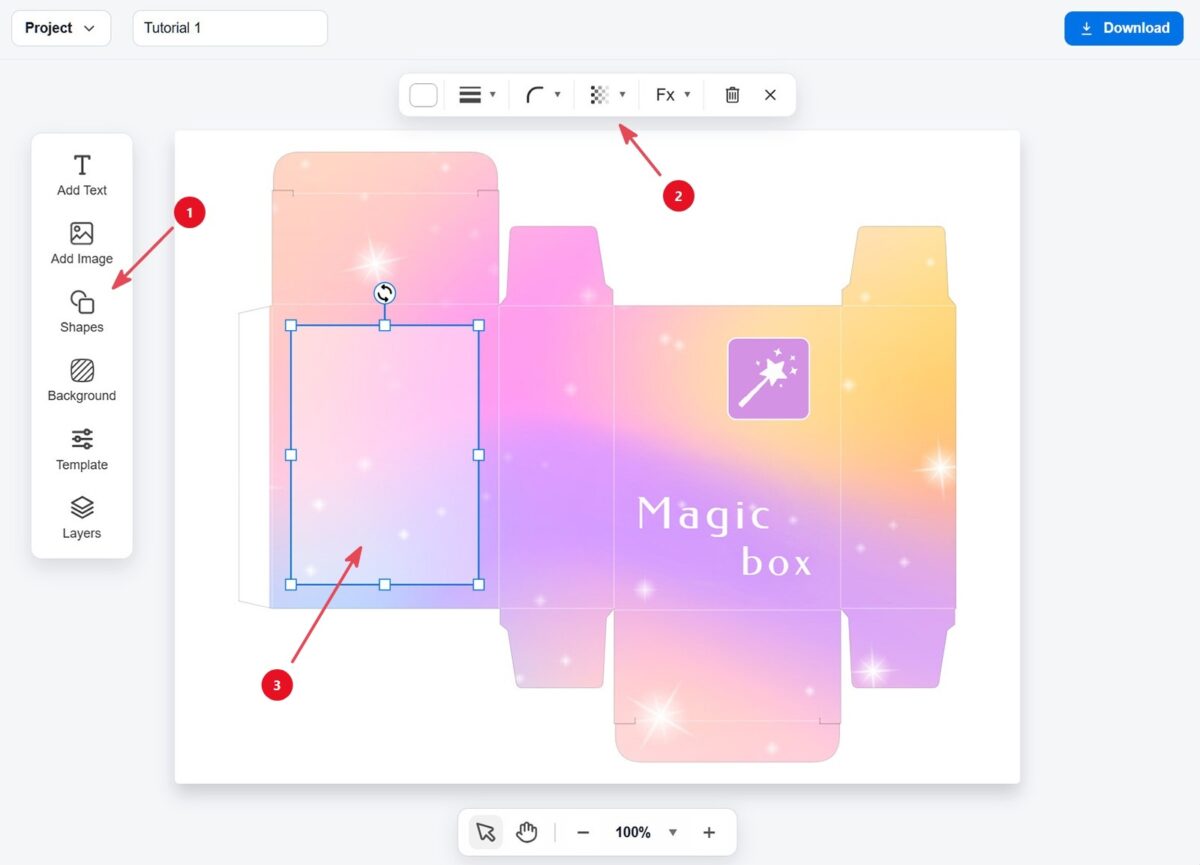
6. Add a decorative shape
Open the Shapes panel and add a rounded rectangle shape.
Use the top toolbar to change its color, outline, opacity, and corner radius.
This can help you create simple labels, accents, or decorative blocks on the box.
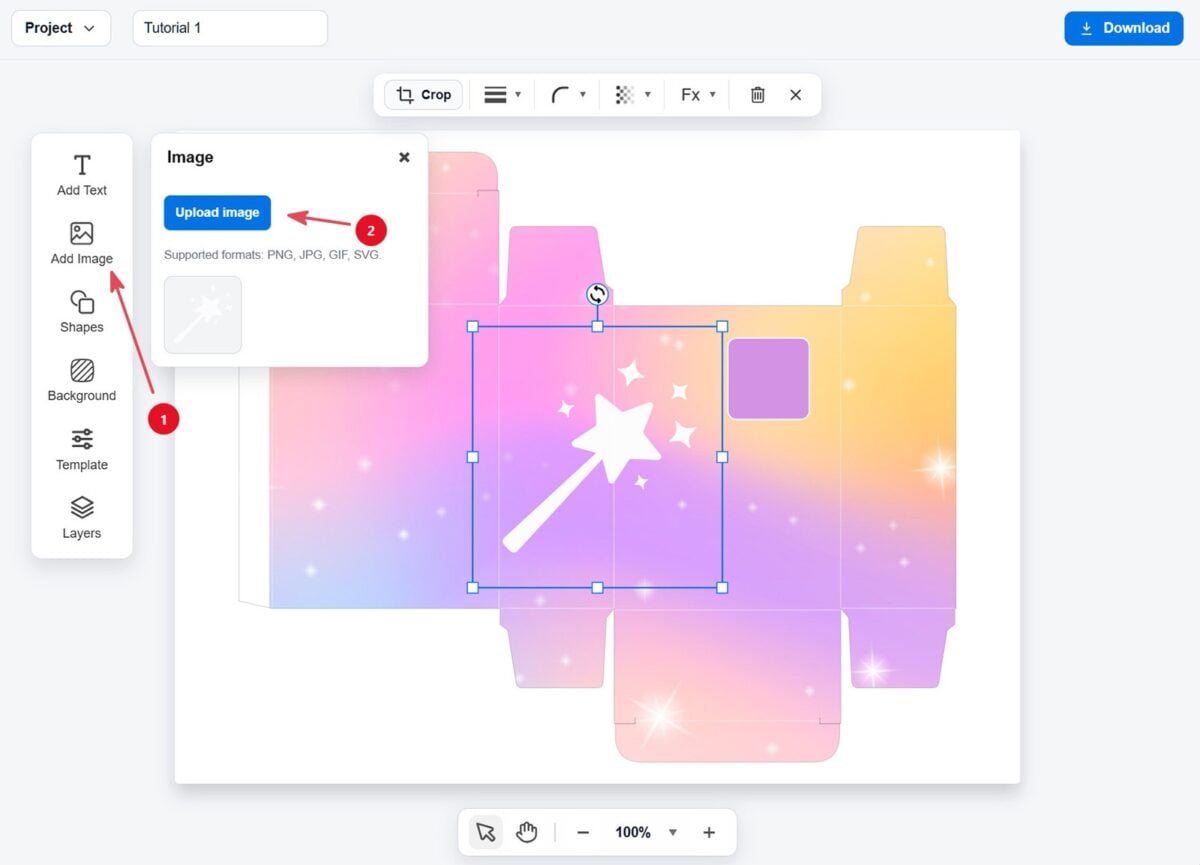
7. Add an image
Open the Add Image panel and click Upload image.
In this tutorial, we’ll use a white PNG icon with a transparent background.
You can upload PNG, JPG, or SVG files and place them anywhere on the template.
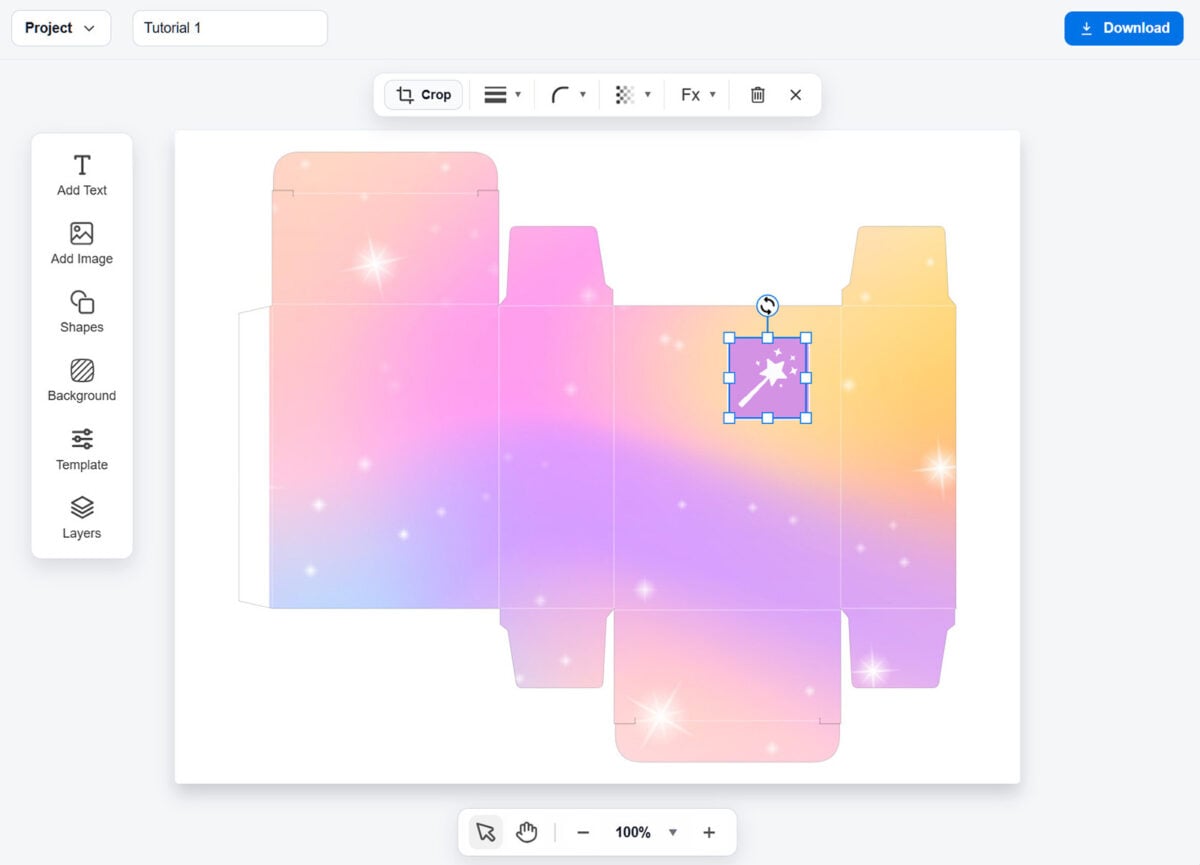
8. Resize and position the image
Resize the uploaded image and place it inside the rectangle you added earlier.
This creates a small decorative label on the box design.
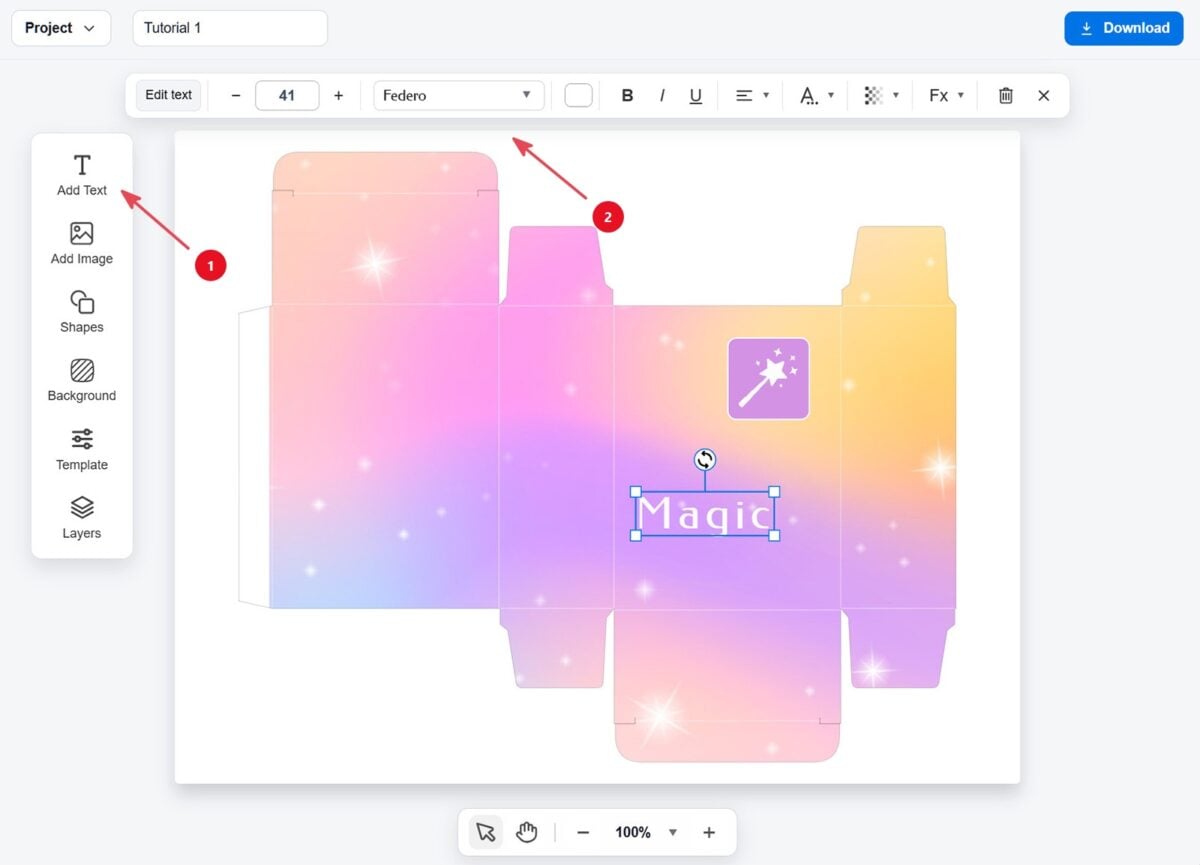
9. Add and style text
Click Add Text and place the title on the front panel of the box.
Use the top toolbar to style the text so it matches your design.
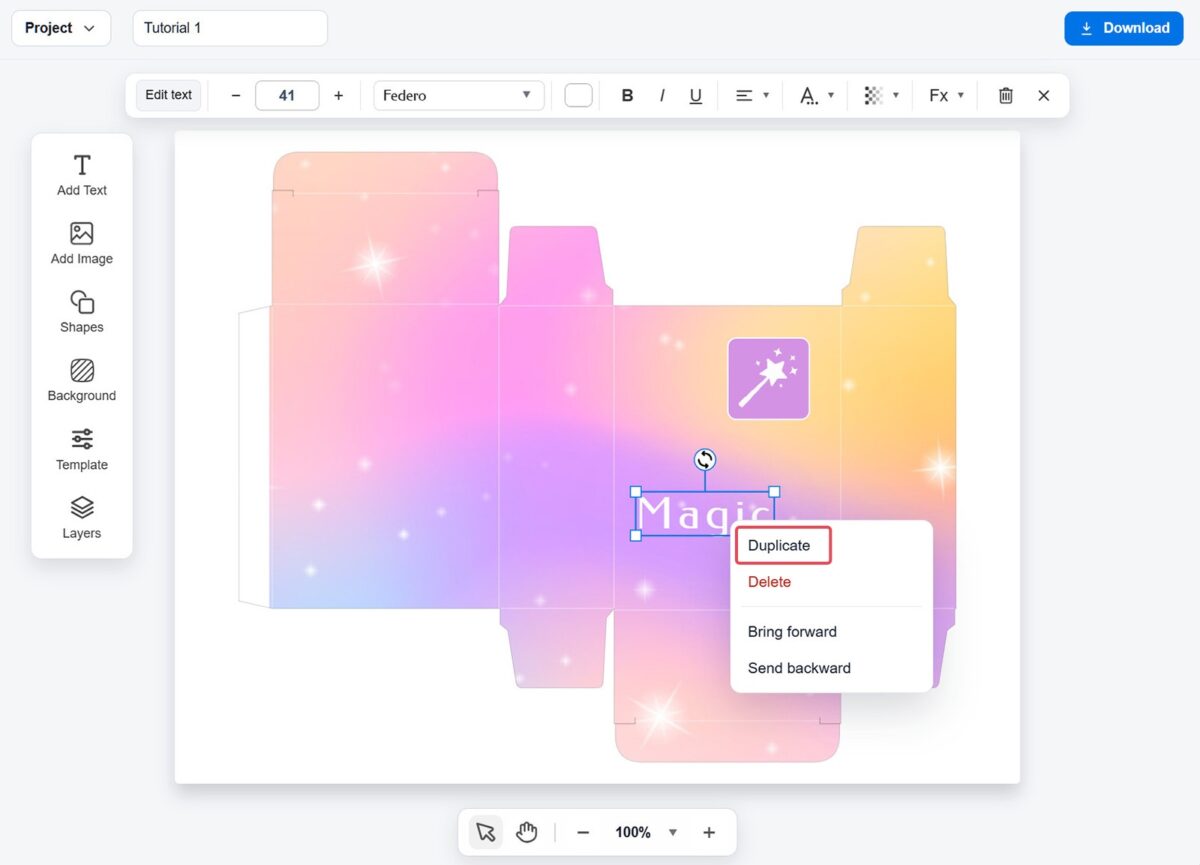
10. Duplicate the text
Right-click the text and select Duplicate.
This is a quick way to create a second text element with the same style.
Note: On mobile devices, use a long press to open the context menu.
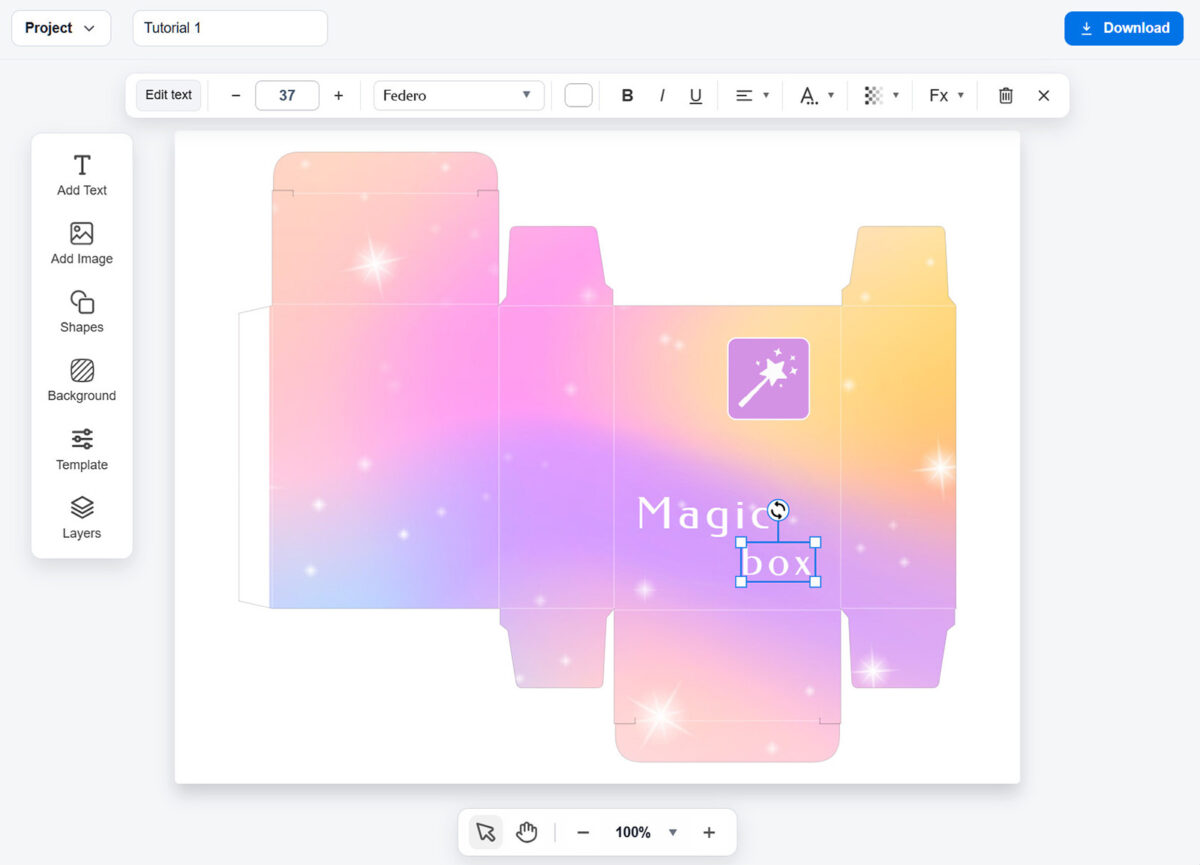
11. Edit the duplicated text
Move the duplicated text into place and change the wording.
In this example, we use it to create a second line for the box name.
12. Add a shape
Open the Shapes panel and add a rectangle. Place it on the back side of the box.
Make it light and semi-transparent, so the background is still visible.
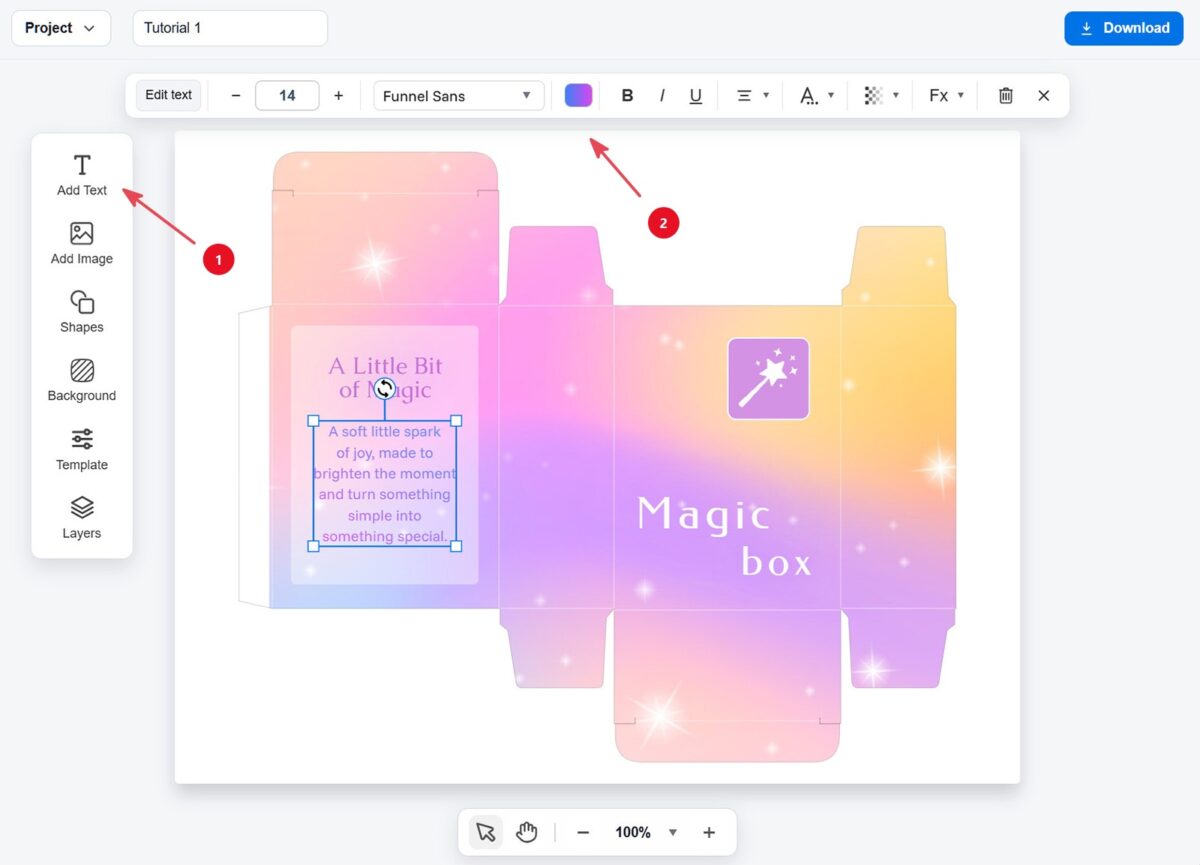
13. Add title and description text
Click Add Text and place the title inside the text area.
Then add a second text block for the description.
Style the text with the top toolbar so it matches your design and stays easy to read.
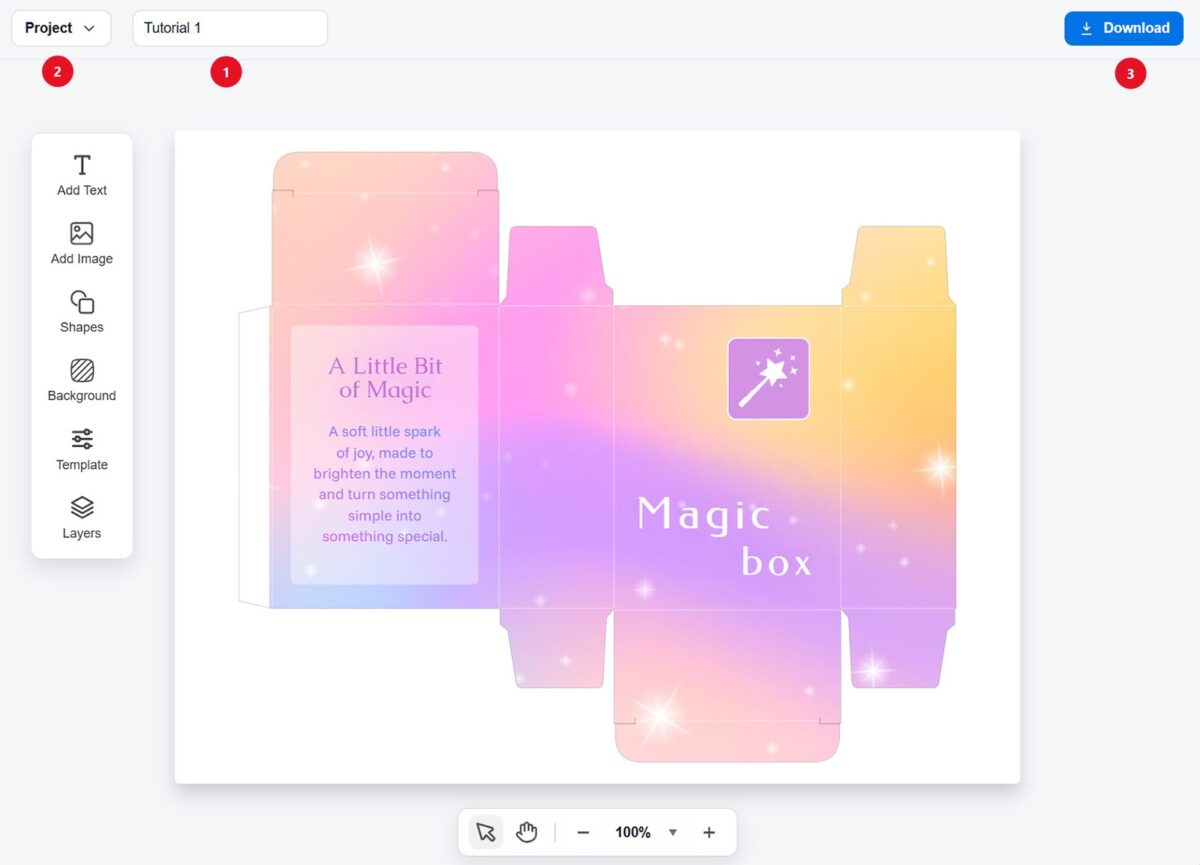
14. Save and download your design
Give your project a clear name at the top.
Open the Project menu and choose Save to file. This lets you open and edit the project later.
When your design is ready, click Download to export it as a PNG, JPG, or PDF file.
That’s it — you’ve just made your first custom box design.