How to make bigger boxes
Resizing guide
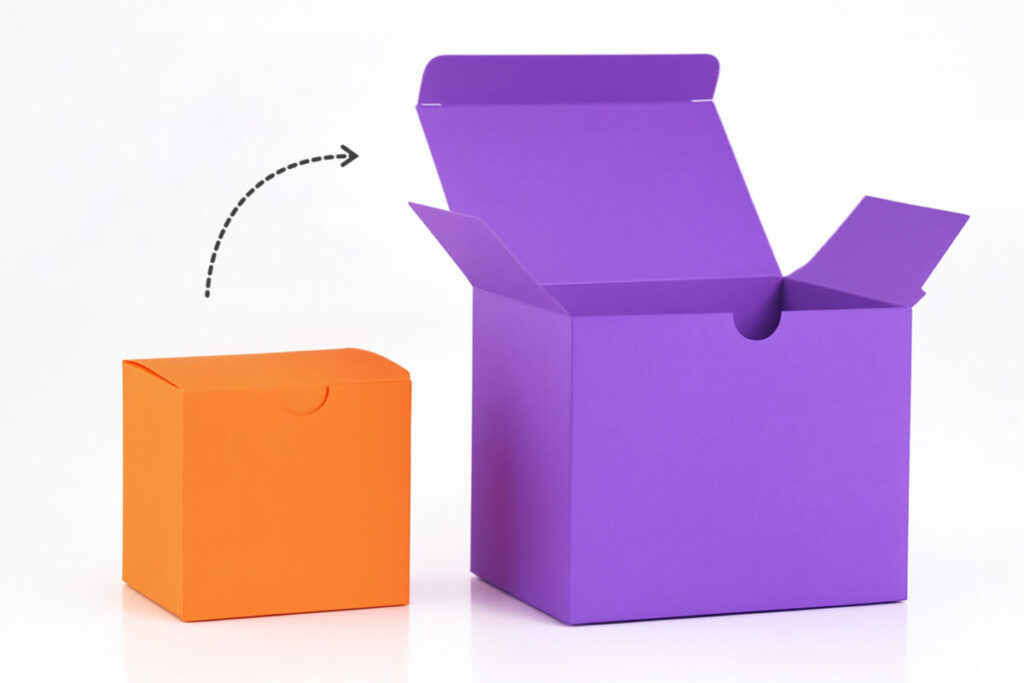
Learn how to make bigger boxes using a real example.
In this tutorial, we’ll guide you step by step through the available options:
1. Make bigger boxes by using larger paper formats
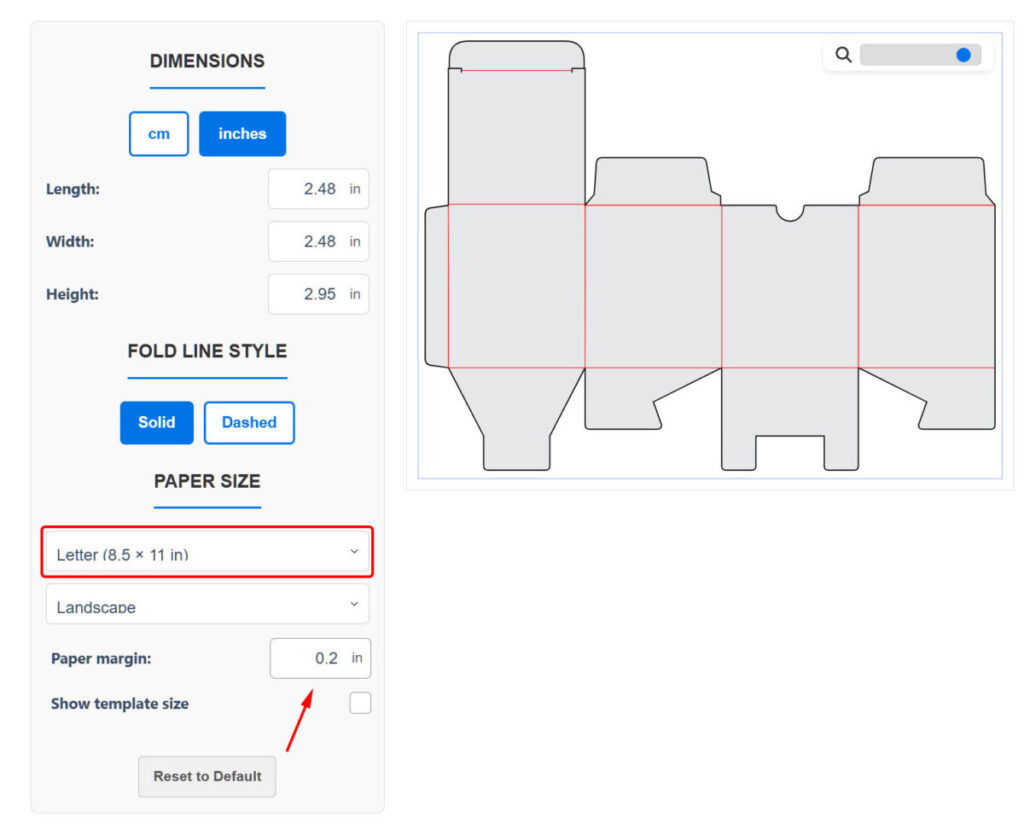
Open the template
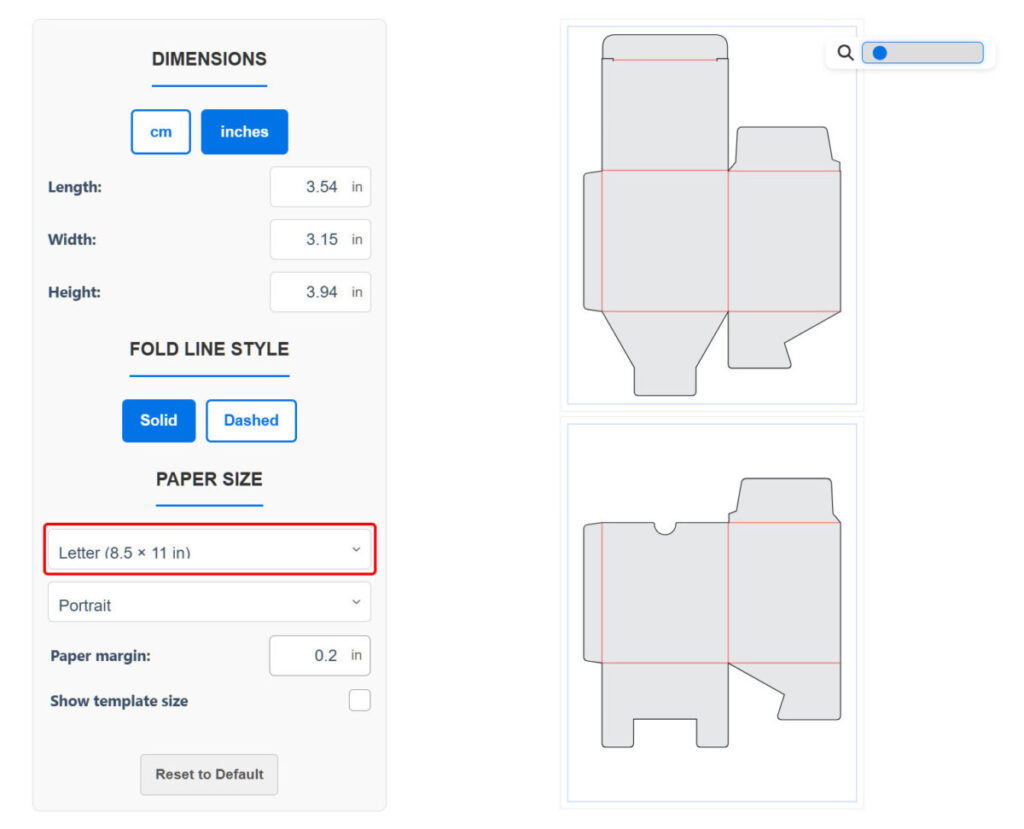
In this tutorial, we’ll be using the Tuck Top Box Template with Slit Locks.
Check the paper margin. By default, it is set to 0.2 inch (0.5 cm). The margin shows the non-cuttable or non-printable area of the paper, depending on your cutting machine or printer.
By default, almost all of our templates are sized to fit standard A4 or Letter paper. As you can see, the template currently takes up almost the entire paper area, leaving no room to make it bigger.
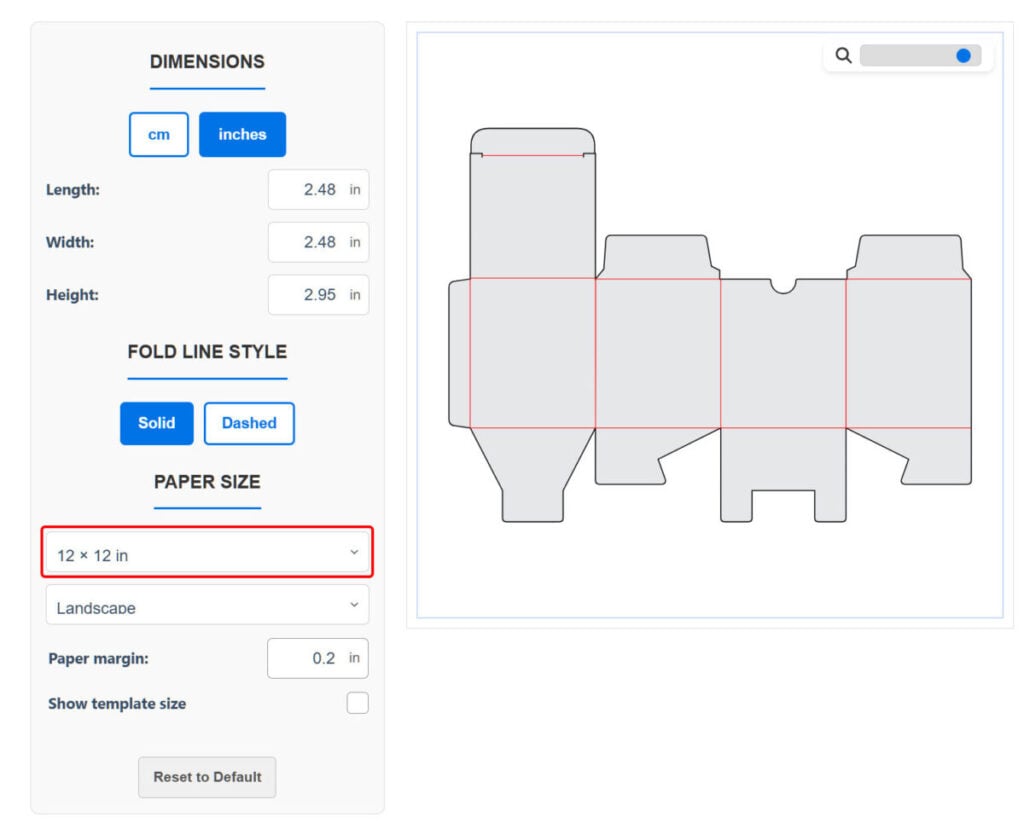
Switch to a larger paper format
Update: With the new Auto paper size mode, the generator will select a larger format automatically as you increase the dimensions.
In this example, we’ll start with 12×12 inches (30.5 × 30.5 cm), as it’s one of the most commonly used sizes for cutting machines and craft projects after standard sheets.
You’ll see that the available cutting area has expanded, giving us room to adjust the template.
Adjust the dimensions
Slightly increase the length and width to make the box wider. Then adjust the height as needed.
Note: When adjusting the size, make sure the template stays within the margin area.

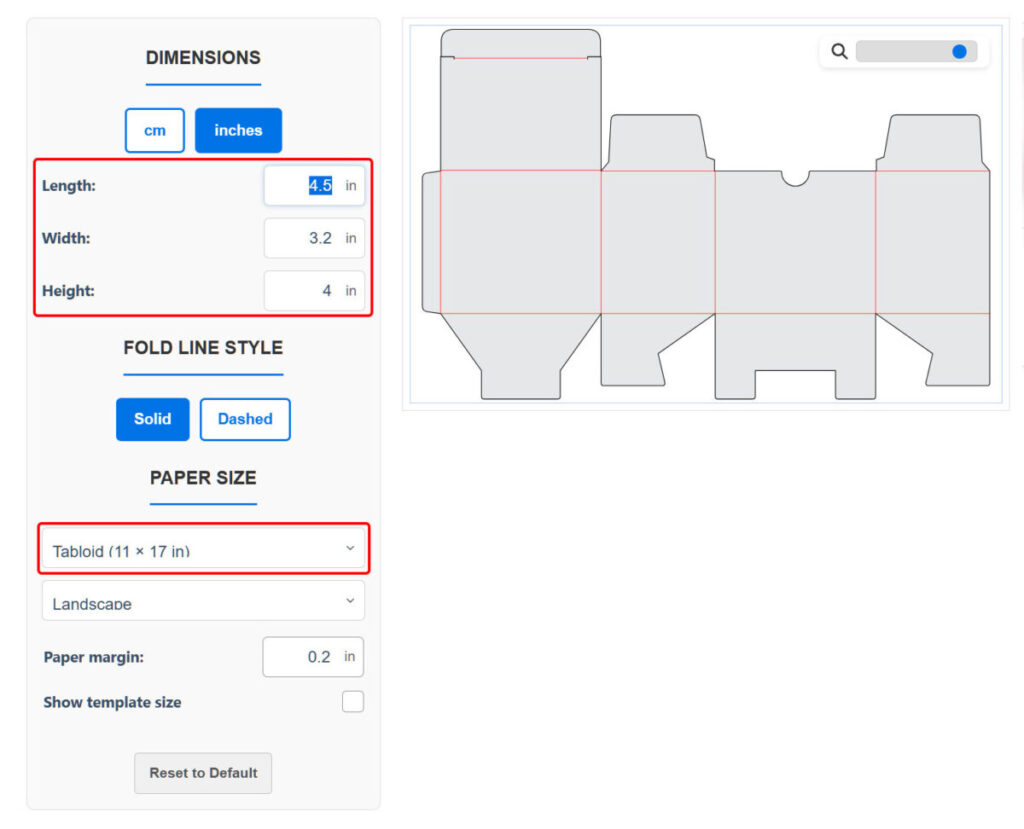
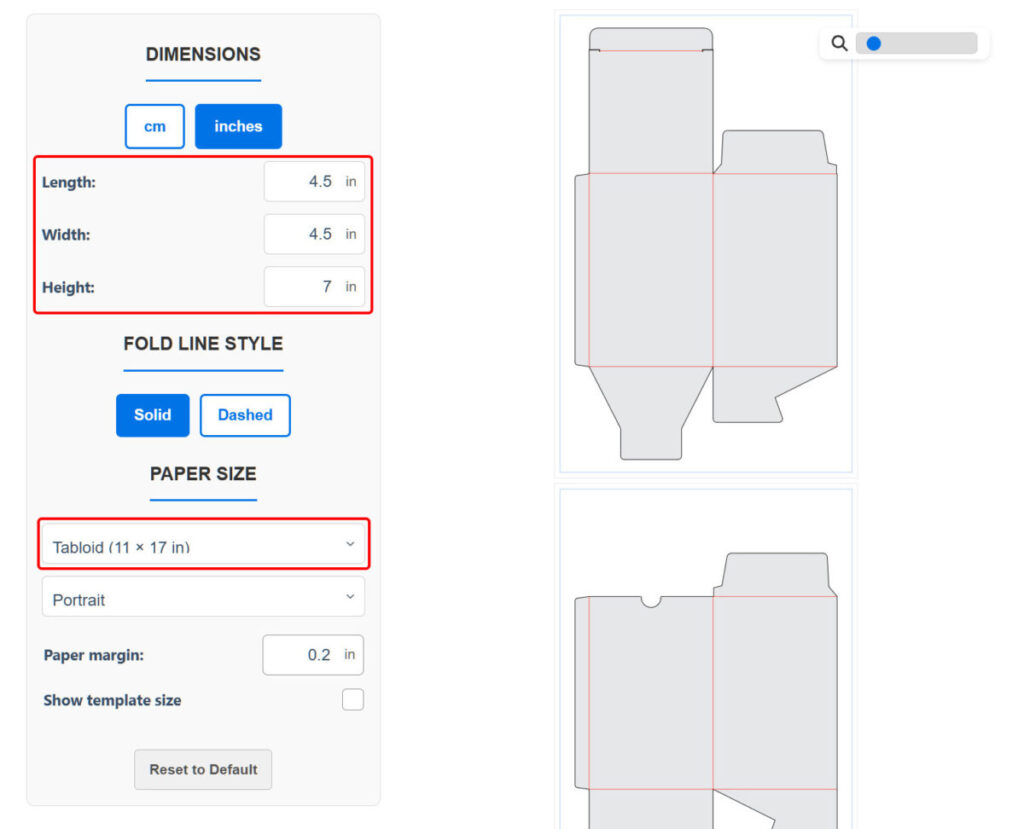
Go further
Switch to a larger format such as A3 or Tabloid. This gives you even more space to increase the length and width, allowing for a wider box. However, if the template extends beyond the margin area, you may need to reduce one of the dimensions.
Alternatively, you can change the paper orientation to Portrait — this will let you make a taller box instead of a wider one.
Update: With the new Auto paper size mode, the generator will select a larger format automatically as you increase the dimensions.
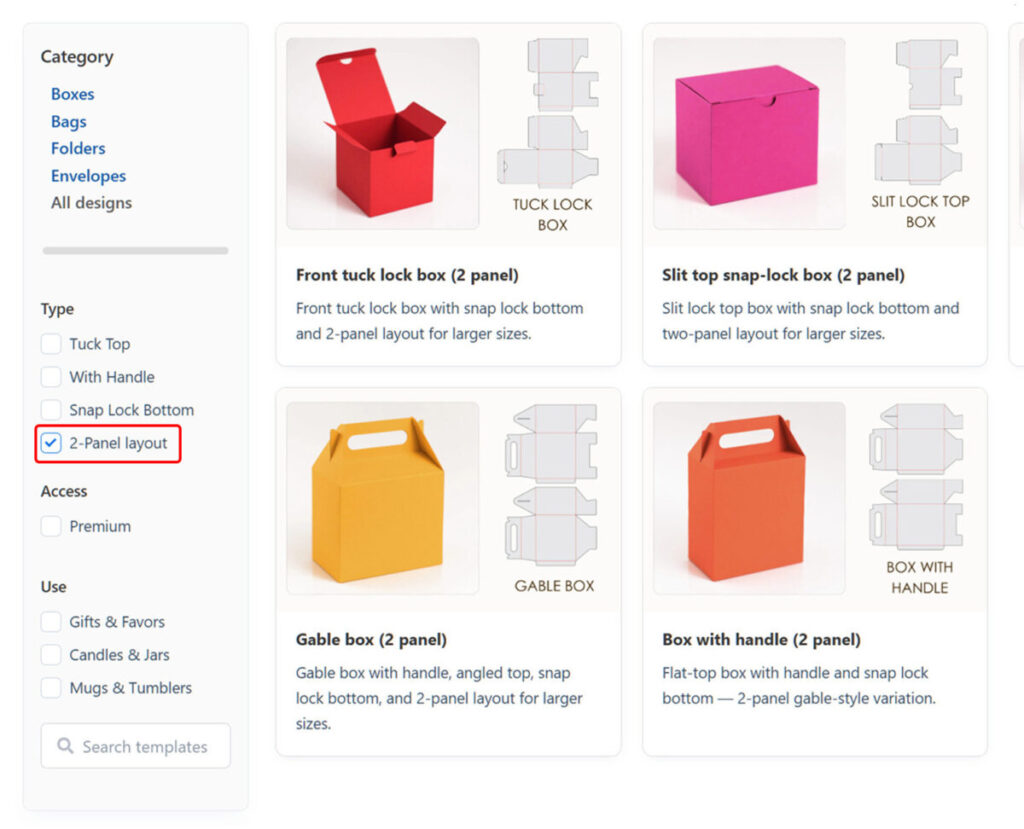
2. Make bigger boxes with 2-panel layouts and standard sheets
Choose a 2-panel layout
Go to the Templates page and select the 2-panel layout box type.
This will filter the templates and show all designs available in a 2-panel format.
Open the template
In this example, we’re using the same box design as before — but split into two panels.
You’ll see two canvases with separate panels.
As you can see, the layout is placed on standard Letter (or A4) sheets, yet the overall box size is larger. This gives you the option to make bigger boxes even when using standard paper formats.
3. Combine both methods for maximum size
Make it even bigger
You can also use 2-panel layouts to make significantly larger boxes.
Switch to a larger paper format such as A3, Tabloid, or even 12×24 inches, and adjust the size while keeping everything within the margin area.
This way, you can create a box that’s a lot bigger than standard one-sheet designs.
Update: With the new Auto paper size mode, the generator will select a larger format automatically as you increase the dimensions.
Paper Sizes Guide
| Format | Size (inches) | Size (cm) | Notes |
|---|---|---|---|
| A4 | 8.3 × 11.7 | 21 × 29.7 | Standard in most countries |
| Letter | 8.5 × 11 | 21.6 × 27.9 | Standard in the US and Canada |
| A3 | 11.7 × 16.5 | 29.7 × 42 | Wider international format |
| Tabloid | 11 × 17 | 27.9 × 43.2 | Wider format used mainly in the US and Canada |
| 12×12 | 12 × 12 | 30.5 × 30.5 | Popular for Cricut and craft cutting |
| 12×24 | 12 × 24 | 30.5 × 61 | For extra-large projects (Cricut, etc.) |