Learn how to upload and prepare DXF templates in Silhouette Studio (Basic Edition).
This guide covers import settings, grouping, repositioning panels, and cutting multi-part designs.
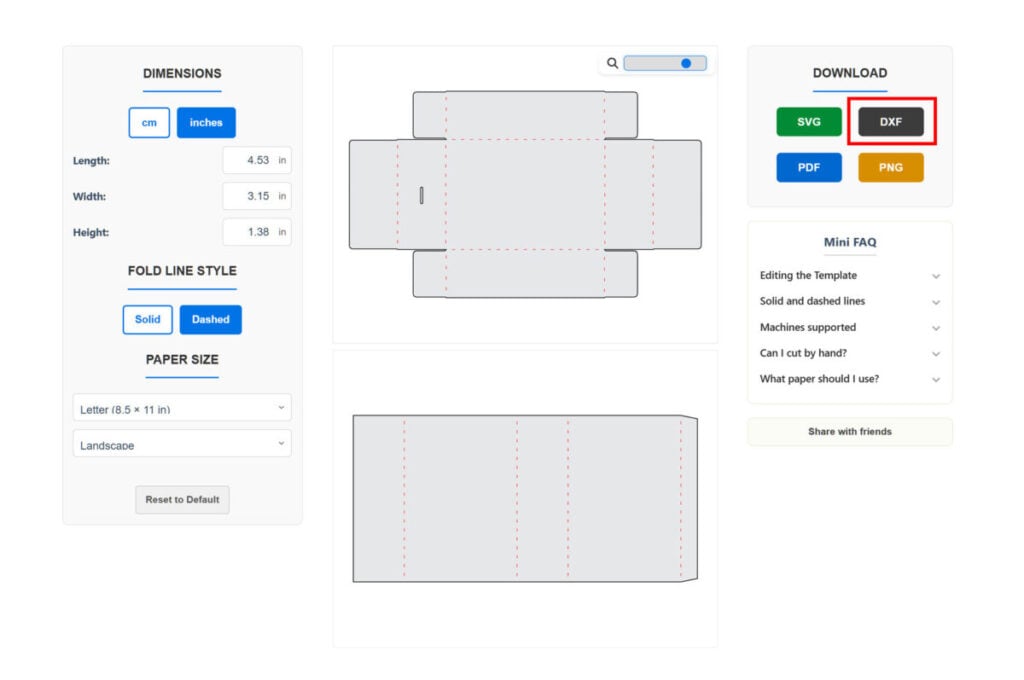
1. Download your template from the Box Template Studio generator page. For this tutorial, we’ll use the dashed line version, as it’s more commonly used with Silhouette than the solid line option.
Then save the file as DXF.
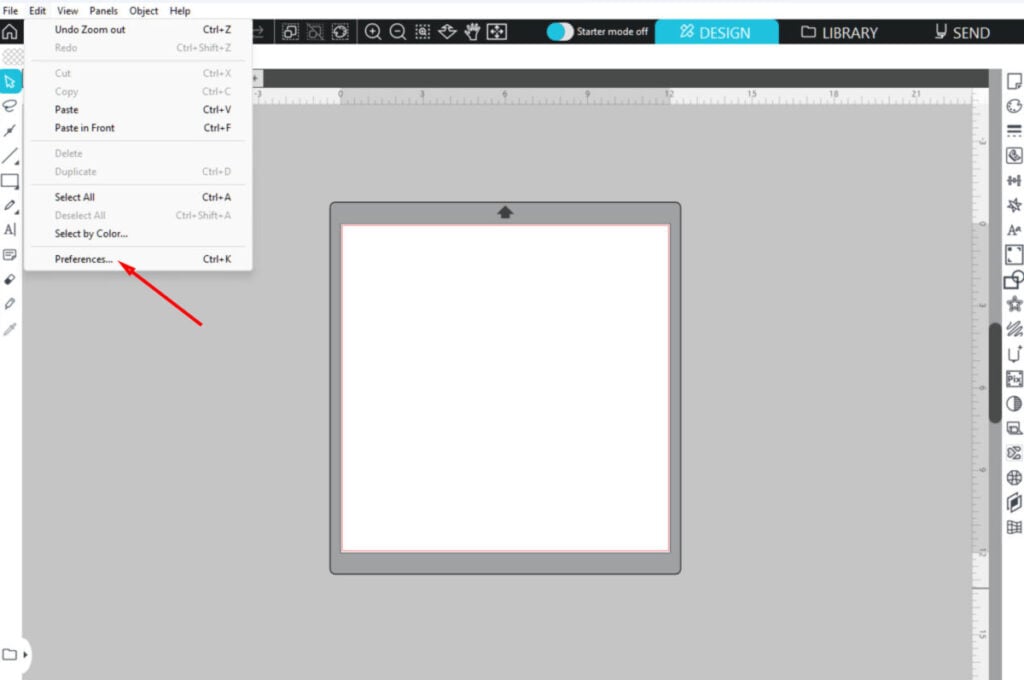
2. First, set the correct DXF file import preferences.
Go to Edit > Preferences in the top menu.
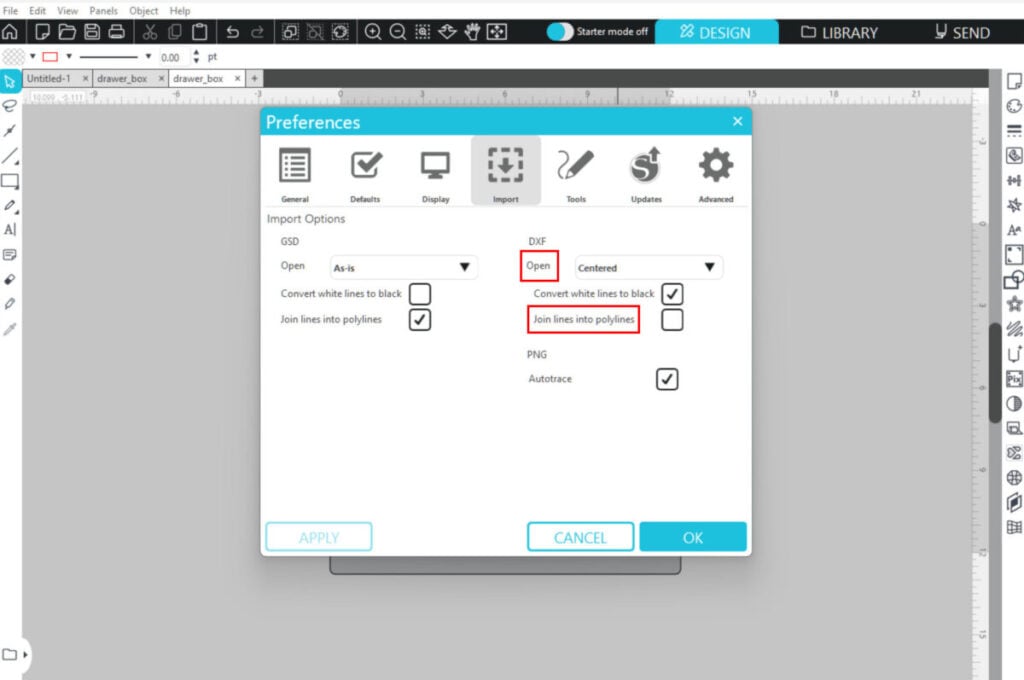
3. Click on the “Import” tab in the Preferences window and adjust the settings as shown in the image.
Set “Open” to “Centered” and make sure “Join lines into polylines” is unchecked.
Then click OK.
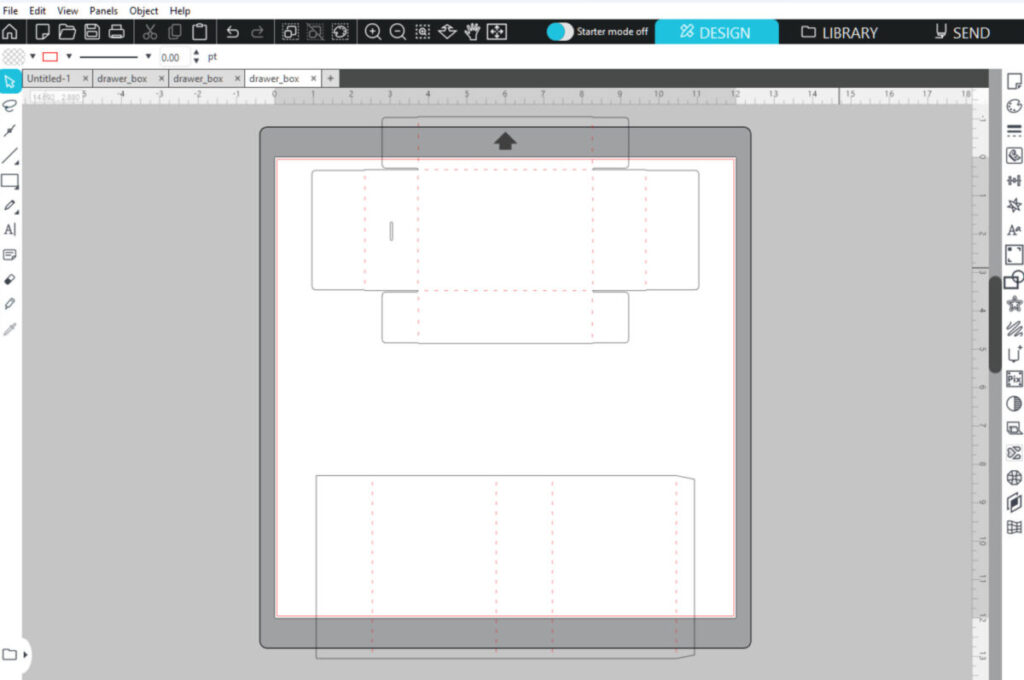
4. Open the file by going to File > Open. Navigate to the folder where the file is saved and select it.
The design should appear centered on the canvas.
If your design includes more than one panel and doesn’t fit on the mat, you’ll need to reposition the panels manually.
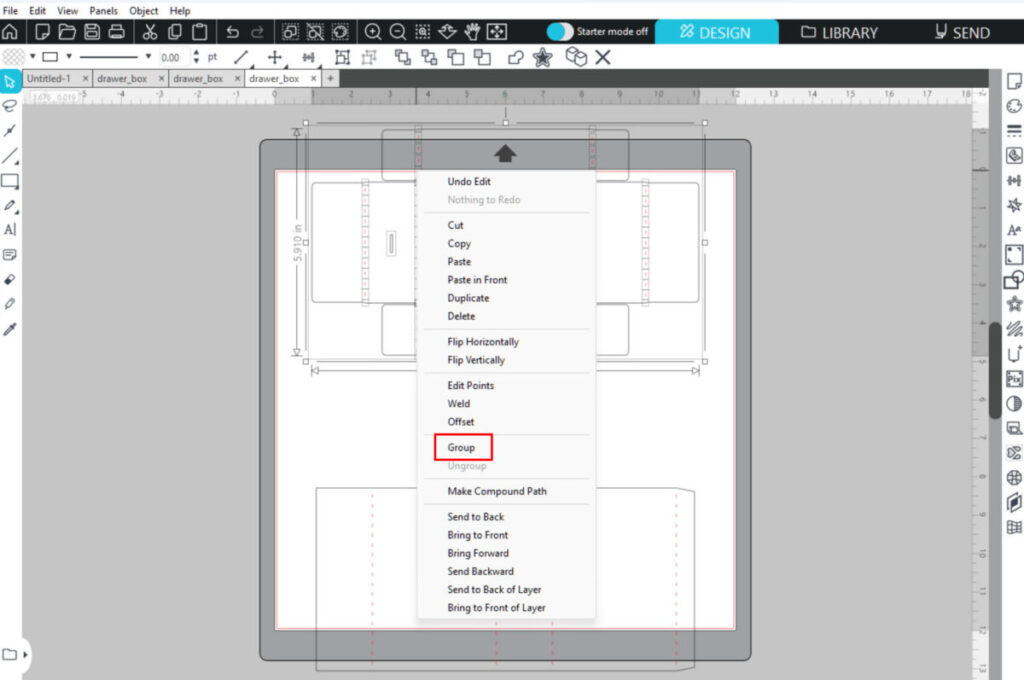
5. Select all elements of the first panel using the mouse, then right-click and choose “Group.”
Grouping will make it easier to position the template.
If your design has two panels, repeat the process for the second one.
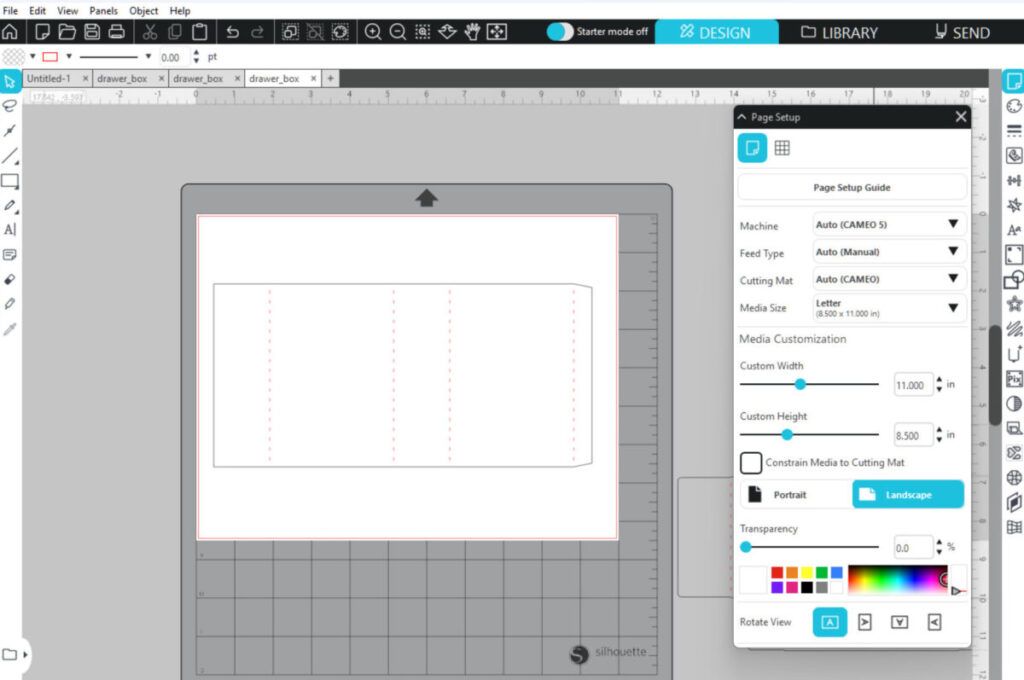
6. You can place both panels on one sheet if the design allows it.
Alternatively, you can change the cardstock size as needed and position and cut only one panel at a time.

7. After cutting the first panel, move it off the mat area, position the second panel, and proceed with cutting.
That’s it — your design is now ready to be cut in Silhouette Studio.