Make your first custom size box
Step by step tutorial for beginners
Learn how to use templates with a real example and get your first custom size box in just a few clicks.
In this tutorial, we’ll guide you through the process step by step.
You’ll see how everything works and get a clear idea of how to start creating boxes for your own projects.

1. Open the template
In this tutorial, we’ll be using the Simple Box Template.
When you open it, you’ll see a live preview on the right and the settings panel on the left.
You can adjust all parameters in real time, and the preview will update automatically as you make changes.
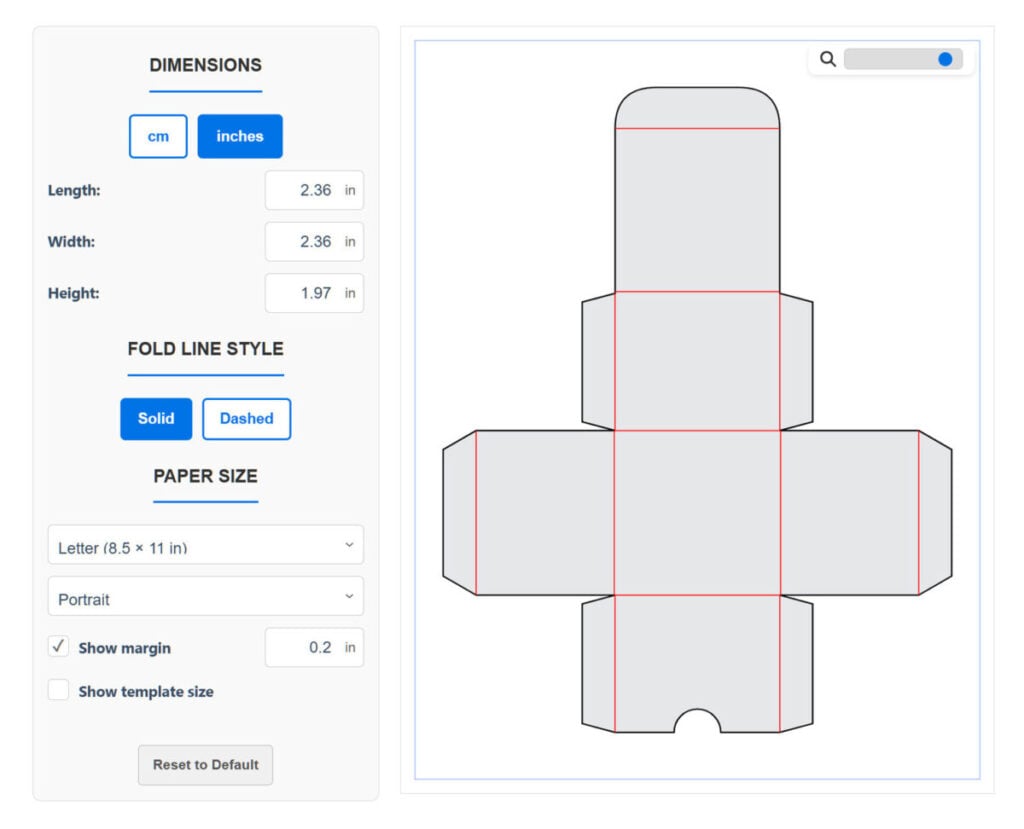
2. Select units and enter dimensions
Choose your preferred measurement (inch or cm).
Then enter these sample dimensions:
Note: These dimensions are provided for practice purposes so you can easily follow the steps. You can enter your own dimensions later.

3. Choose the fold line style
Note: Some machines, like Silhouette or Sizzix, don’t have dedicated scoring tools but offer a “kiss cut” scoring option. You can use solid lines for them as well.

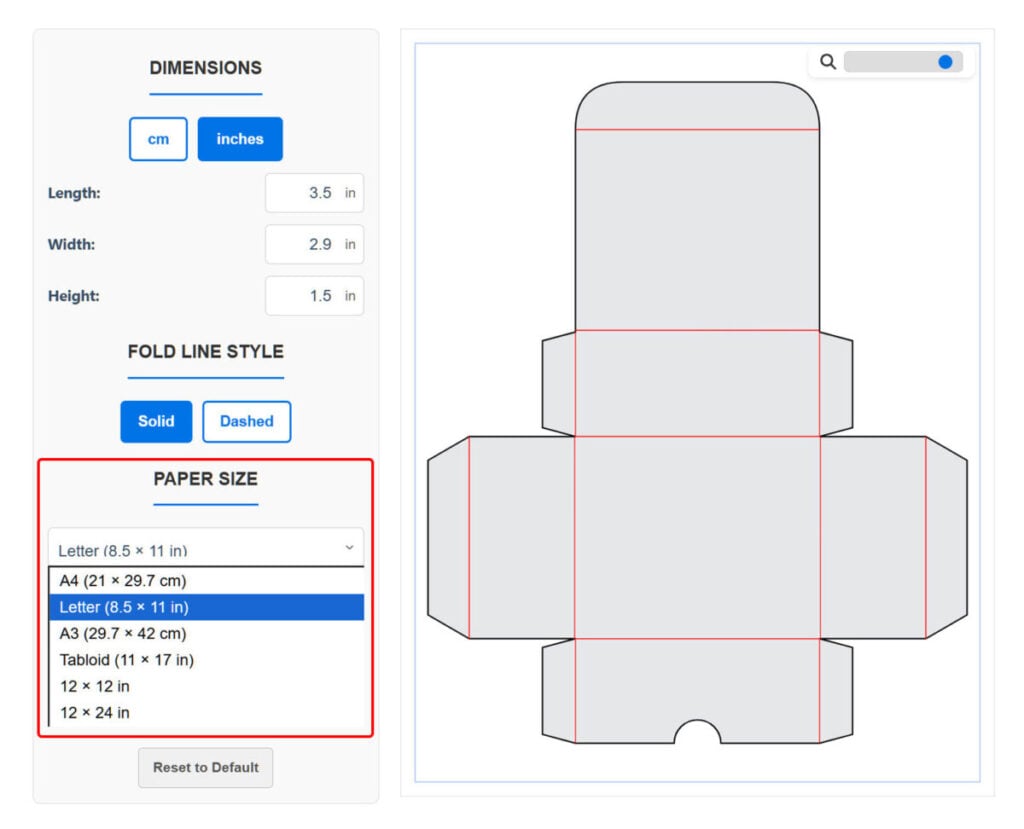
4. Check your paper size
Update: With the new Auto paper size mode, the generator will automatically select the correct paper size for you.
If you prefer manual control, we adjusted our template size so that it fits on both Letter and A4 paper.
Note: The generator also supports larger formats — A3, Tabloid, 12×12 inch, and 12×24 inch. You can switch to a larger paper size to create larger boxes.
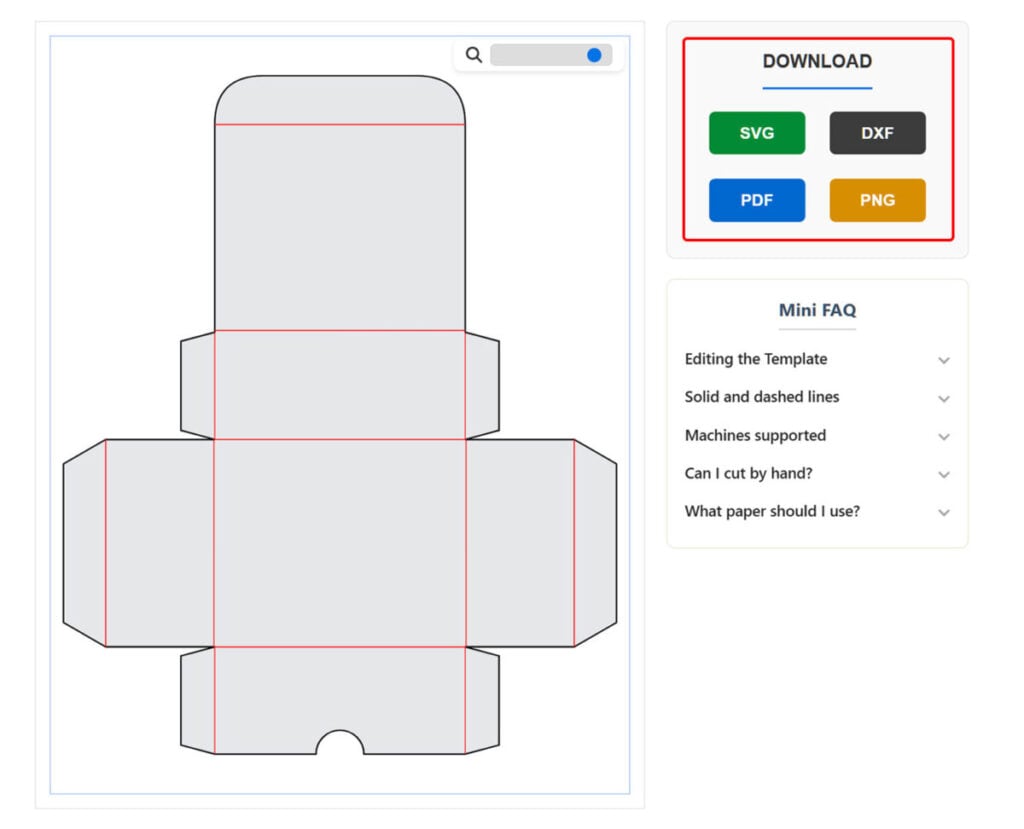
Now you can cut it out and put it together.
✂️ Cutting by hand?
Download the PDF, print it at 100% scale, cut along the outline using scissors or a craft knife and a ruler, then score the fold lines.
The full assembly steps are shown below.
🖥️ Using a cutting machine?
Check out these helpful tutorials for your software:
Final look and assembly steps
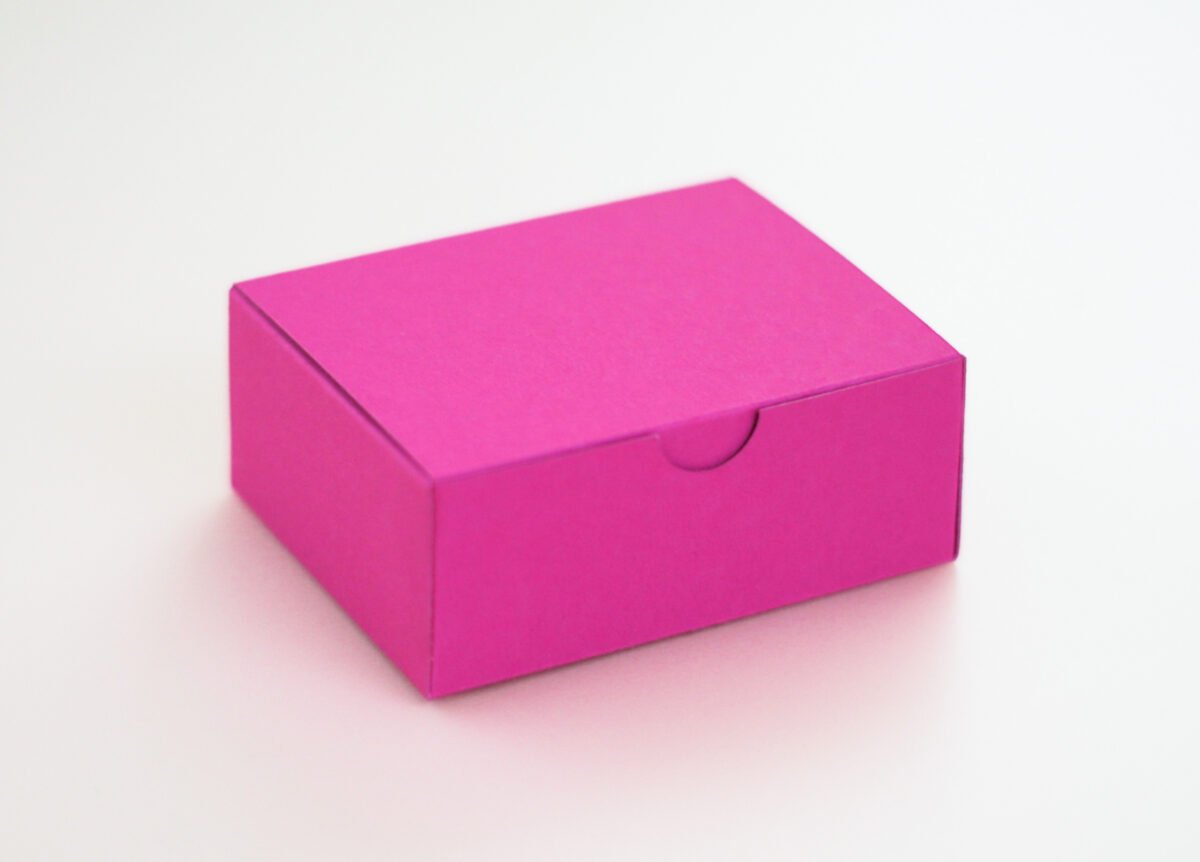


That’s it — you’ve just made your first custom size box.
Take your box making to the next level!
Go Premium to unlock the complete library and start creating boxes with more shapes, more sizes, and faster assembly.
Why Premium ✨